Getting Started
Learn the basics of ExpenseLM and get started with expense management
Last updated: 8/12/2025
This guide will help you get started with ExpenseLM.
Login (or Sign Up for a new free account)
To use ExpenseLM for expense management is very easy. All you need is an user account. Head to ExpenseLM Web Portal and if you haven't login (or your previously session was expired), the login page will be displayed.
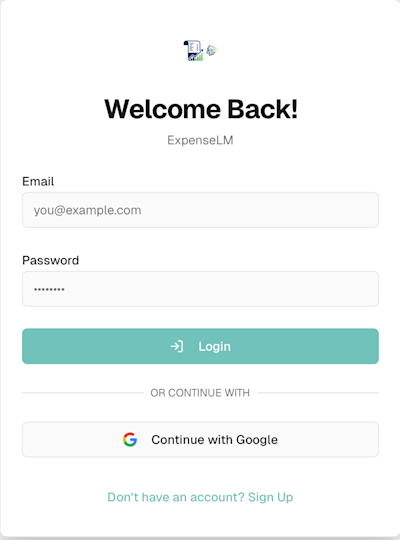
Just login to the portal. If you visit ExpenseLM for the first time, click "Sign Up" to create a new account. You have the following options for Sign Up:
- Email and password
- Google account (recommend)
If you use email and password, you will need to verify your email address before being able to login to ExpenseLM.
Expense Recording
Once logged in, the first page is the dashboard, which provides a brief summary of your expense statistics in recent period.
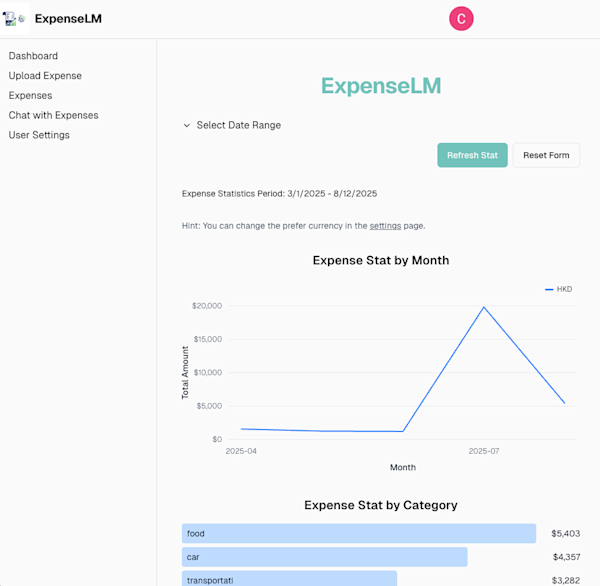
If you haven't record any expense, you will not see any statistics. Let's start to capture your expenses!
ExpenseLM provides different way for you to record your expense.
Extract Expense from Receipt or Invoice Image
The most easiest way to record an expense is to upload an image. The image can be of any type:
- A paper receipt you received (e.g. from supermarket or restaurant)
- Screen capture of a receipt or invoice that was emailed to you
- Screen capture of a receipt or invoice from a PDF file
To upload a receipt or invoice image, on the left hand side navigation menu, choose "Upload Expense".
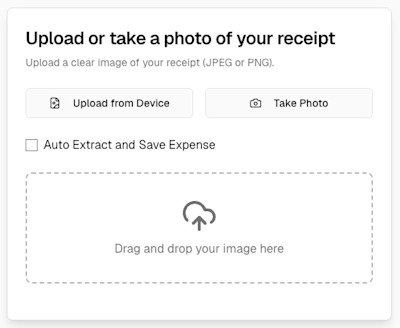
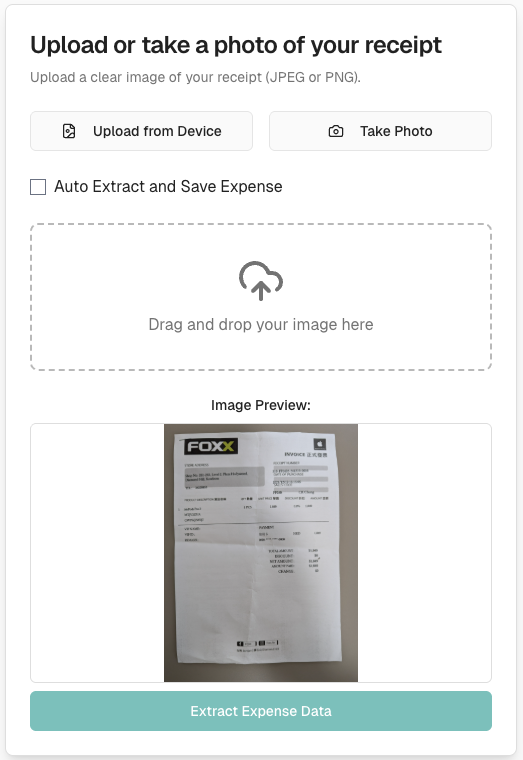
Just drop an image into the image dropping area, and then click "Extract Expense Data" to start extracting expense information.
ExpenseLM currently supports jpeg or png files.
ExpenseLM will use GenAI behind the scene to extract the information from the receipt into structured data. It support multiple languages and currencies, and was designed to extract as much information as possible. Both the overall amount and each detail item will be extracted as well. Once extract completed, a form will be displayed for you to review and confirm. You can edit any information or fill in remarks if you want. Once you satisfy with the expense information, click "Save Expense" to record the expense.
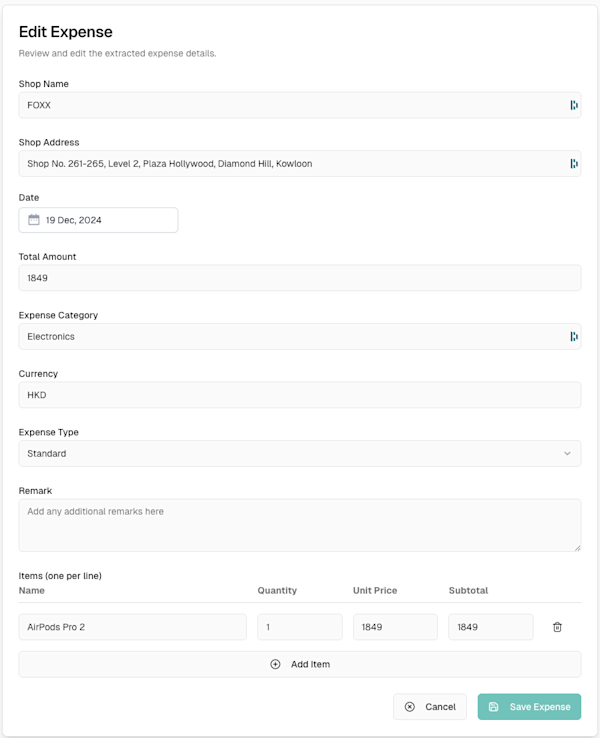
Once saved, you will see a successful message and then the expense listing page will be displayed.
You can also choose to perform extraction and save together. Just check the box "Auto Extract and Save Expense" in the upload page.
Enter Expense Manually
You can also choose to enter expense manually. To do that, in the "Expenses" page, check the "Add New Expense" button.
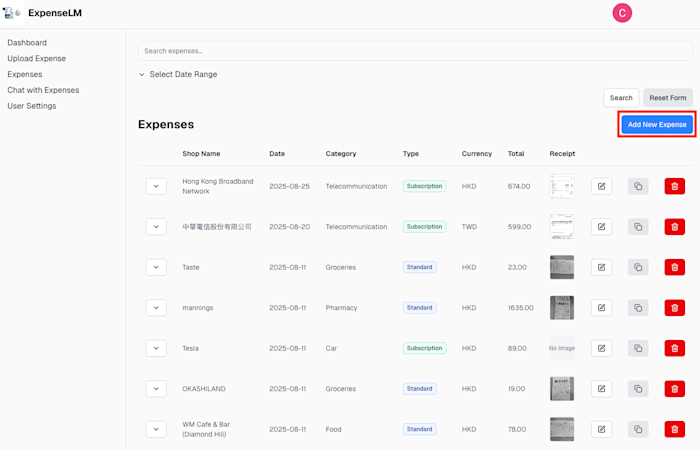
Then a form (under the expense listing table) will be display and you can then enter and save your expense.

Clone an Existing Expense
Sometimes you may want to just copy a previous expense, update some information (e.g. date), and then save it. In ExpenseLM, you can clone an expense, edit and then save. To do that, in the "Expenses" listing page, just click the "Copy" button in the right hand side of the expense record.
For example, if I want to clone my expense on Tesla subscription, I just click the Copy button on it's right hand side.
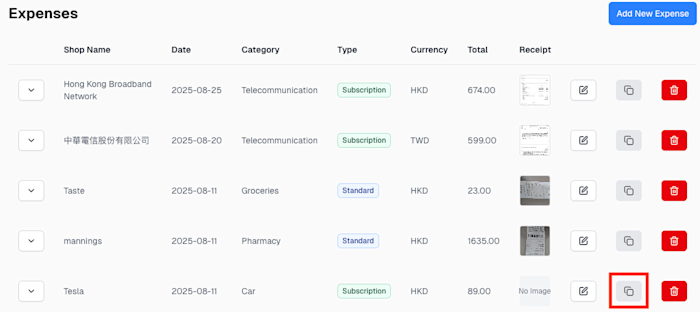
Then the "Add New Expense" form will de displayed at bottom. All the information were replicated, just the date will be changed to use the current date. You can perform any edits you want and then save the expense.
List and Search Expenses
ExpenseLM provides different ways for your to browse or search your expenses for easy reference.
List Expense
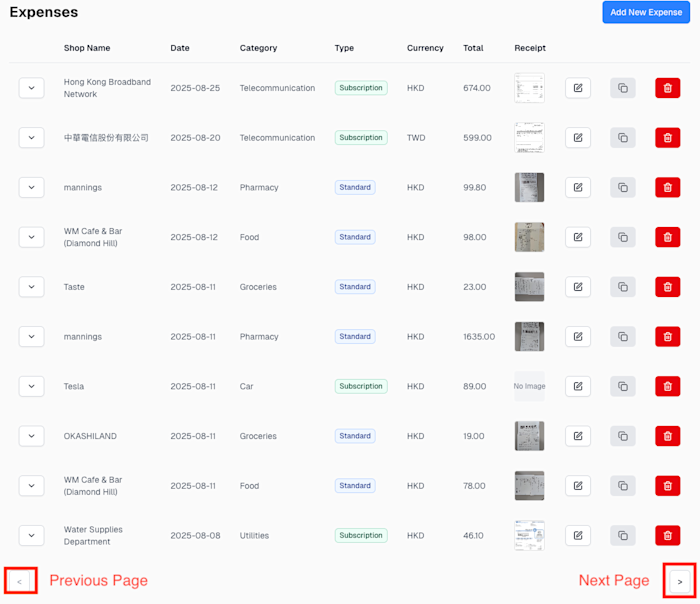
By clicking "Expenses" in the left navigation menu, you will see the expense listing page. By default, the expenses were displayed in reverse chronological order. Each page will display 10 records. You can use the ">" and "<" buttons to get the next or previous page of expenses.
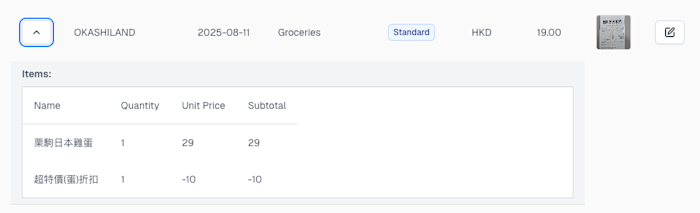
Details of an Expense
You can click on the "V" button on any expense record to see the detail items for that expense.
Edit an Expense
You can also edit an expense by clicking the "Edit" button. The edit form will be displayed at the bottom.
Search Expenses
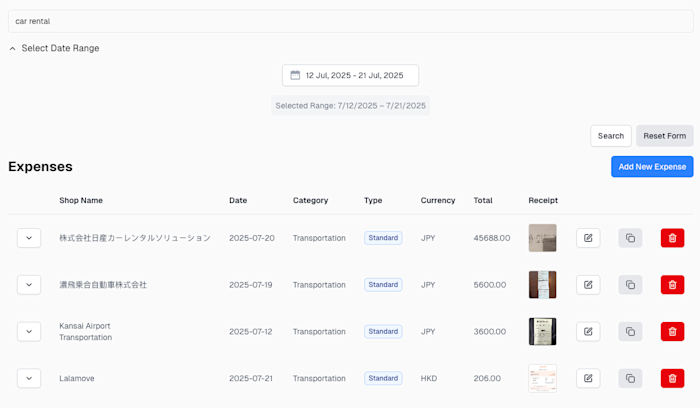
Search for expenses is one of the most powerful feature in ExpenseLM. We use state of the art multilingual embedding model to perform embedding of all the expense information and store them in a "Vector" database for semantic searching. Multilingual embedding also means that you can perform cross language searching (e.g. you went to Japan and had rent a car. The receipt is in Japanese. In ExpenseLM, you can search with English word "car rental" and that expense will be retrieved as well).
To search for any expenses, on the top, just enter the phrase like what you will do in search engine. If you want, you can also search for records in a particular period. In the following example, I am searching for my expense on car rental during my trip to Japan during 12 - 21 Jul, 2025.
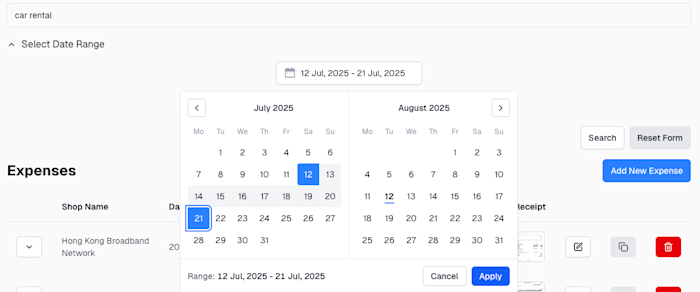
Upon search criteria entered, hit the "Search" button and the related expenses will be displayed. The most relevant expenses will be displayed first.
Chat with ExpenseLM Agent
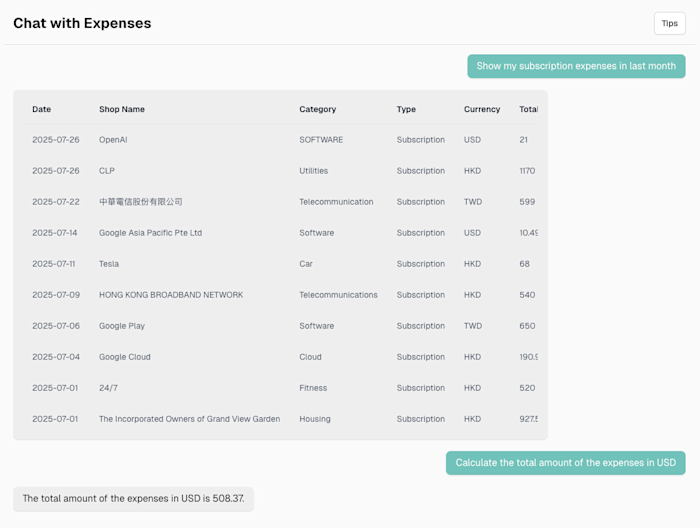
You can also use the ExpenseLM agent to chat with your expenses (like ChatGPT). You can ask the agent to get your expenses for a certain period, with search terms. You can also ask the agent to convert the different currency into the same one (e.g. from TWD, JPY, HKD to USD) for your easy reference.
Some example questions:
- Show my subscription expense for the past 3 month
- Show me the details of the expense at "WM Cafe" on 2025-07-12 (the agent will retrieve the detail items for you)
- Calculate the total of my expenses in USD
The following is a sample screenshot.
ExpenseLM also provides its MCP Server, which enable your favorite chat tool (e.g. Claude Desktop, Perplexity Desktop, or any tool that can acts as MCP client) to use the tools provided by the server to interact with your expense data. Please visit the relevant documentation page for setup instructions.